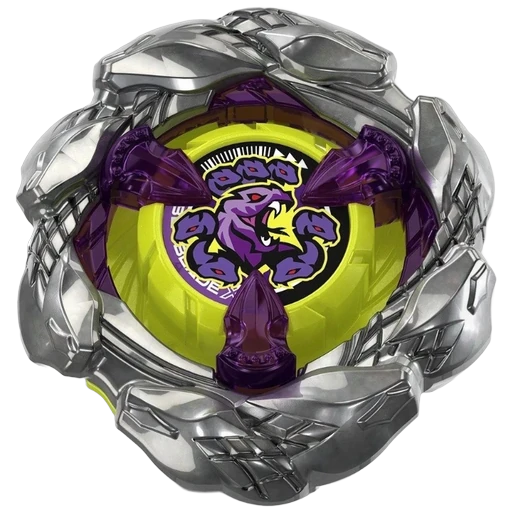
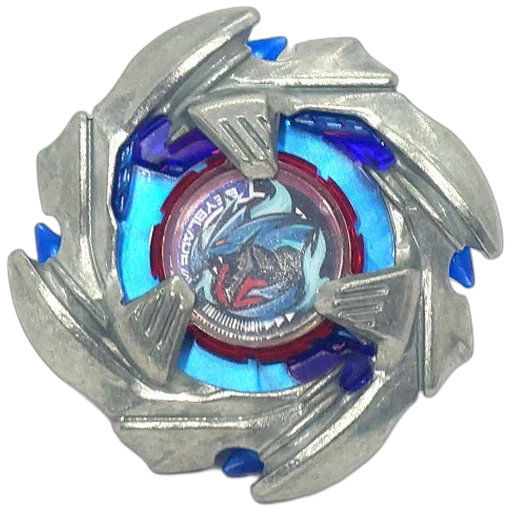
Which Orochi Cluster build should be tested first, and how strong is the evidence?
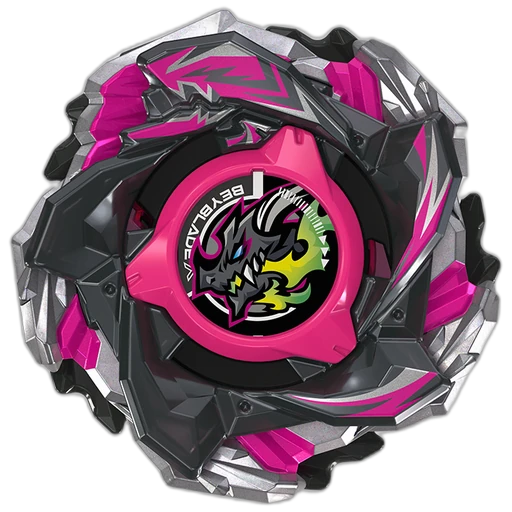
Orochi Cluster · 7-60 · Kick is the most common starting point in the available historical tournament record; 10% of recorded podium builds · all-time. Retest it for the current environment before entering an event.
What changes in the alternative Orochi Cluster builds?
Orochi Cluster · 7-60 · Level: 7-60 uses the 60-height class with 7 main contact points; Level changes behaviour with launch angle, covering controlled movement and attack. Orochi Cluster · 9-60 · Kick: 9-60 uses the 60-height class with 9 main contact points; Kick mixes mobile pressure with enough stability for longer exchanges.
What role should Orochi Cluster fill in a three-Bey deck?
Use it to create knockout pressure before stamina specialists can settle. Track self-knockouts separately because an aggressive launch can cost the round. It has historical tournament records but no current four-week sample, so treat it as a matchup option that needs fresh testing.
2Test the first recommended build for five repeat launches.
3Compare control and results, then confirm the exact event rules.
HOW TO OBTAIN & MEASURED DATA
Orochi Cluster weight and release variants
Loading verified catalog data…
Reported alternate
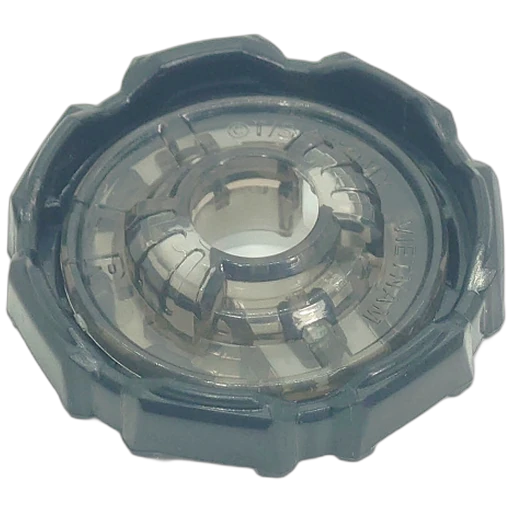
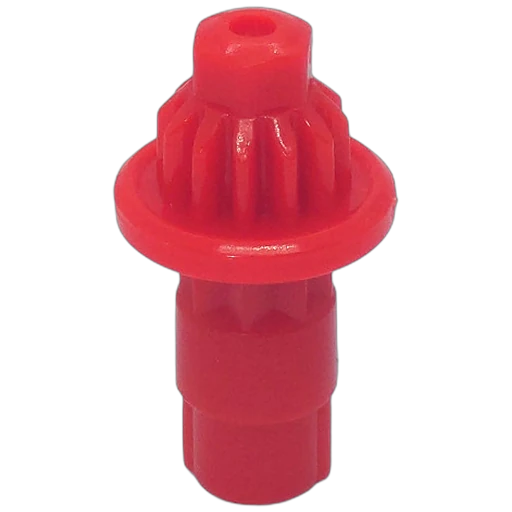
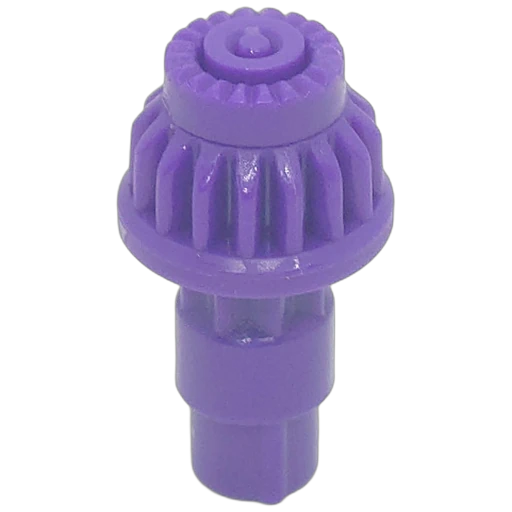
Recommended Ratchet and Bit builds
Current-meta builds use the latest four-week podium sample. Reported alternatives come from the full tournament record. Role-based test setups appear only when no verified podium sample exists.
01
Reported alternate10% of recorded podium builds · all-time
This Attack blade aims to convert early speed and hard contact into knockouts. Lower ratchets reduce exposed underside area, while mobile bits help it reach the X-Celerator rail.
What the parts change
Ratchet + Bit
RatchetRatchet height and shape affect burst exposure, balance and how the blade meets an opponent.
BitThe Bit controls movement, grip, stamina and how aggressively the Bey uses the X-Celerator rail.
Malaysia competition check
G1 · G2 · G3
G1
Major or qualifying event. The exact organiser notice controls age, release and equipment requirements.
G2
Higher-level or special event. Confirm its format and allowed Malaysian releases before entering.
G3
Malaysian listings commonly use 3-on-3, first to four points, with no repeated parts in the deck.
Before entering: use eligible Takara Tomy Beyblade X parts, avoid repeated parts in 3-on-3, keep parts unmodified and safe, and follow the judge’s final decision.
Research notes
Build research checked 2 October 2026
Product identity and stock configuration were checked against the Takara Tomy lineup. Catalogue images are matched by exact part ID with Beyblade X Database, while measurements are cross-checked with BeyGear. Current build evidence uses 560 podium decks from 190 WBO events in the latest four-week tournament snapshot. Read the full methodology.
What result means Orochi Cluster should leave my three-Bey deck?
Leave it out if repeated tests show more self-knockouts and early spin losses than clean knockouts against the stamina or control target it is meant to beat. It has historical tournament records but no current four-week sample, so treat it as a matchup option that needs fresh testing.
 BEY