 BEY
BEYBEYBLADE X RATCHET DIRECTORY
Compare every Ratchet in one place.
Check height, contact-point format, role and compatible build ideas before opening the full Ratchet guide.
37Ratchets
37 results
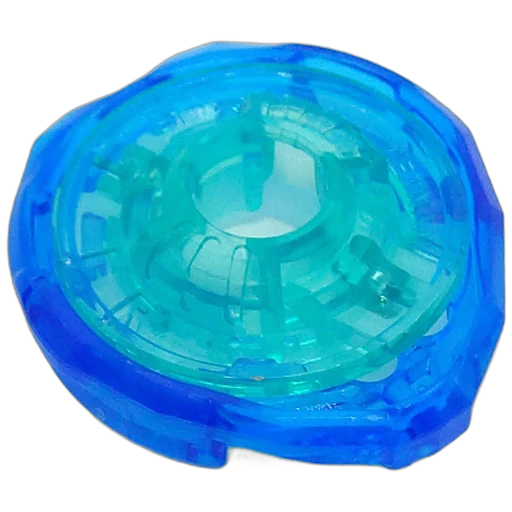 RATCHET1-60Attack1-60 uses 1 main contact point and a 60 height class. Lower setups generally expose less underside, while the complete Blade, Bit and launch determine the result.View details
 RATCHET9-60Balance9-60 uses 9 main contact points and a 60 height class. Lower setups generally expose less underside, while the complete Blade, Bit and launch determine the result.View details
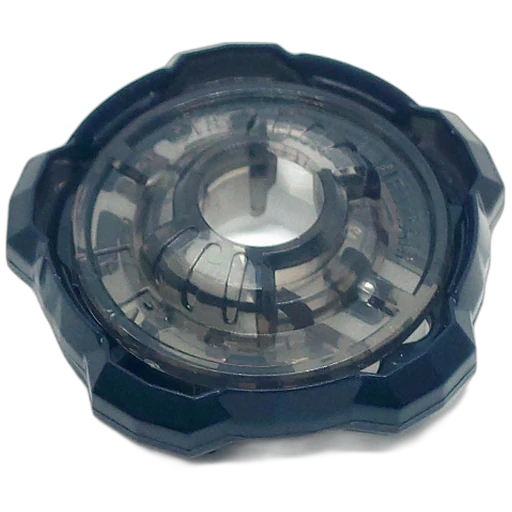 RATCHET5-60Balance5-60 uses 5 main contact points and a 60 height class. Lower setups generally expose less underside, while the complete Blade, Bit and launch determine the result.View details
 RATCHET1-70Balance1-70 uses 1 main contact point and a 70 height class. Lower setups generally expose less underside, while the complete Blade, Bit and launch determine the result.View details
 RATCHET3-60Balance3-60 uses 3 main contact points and a 60 height class. Lower setups generally expose less underside, while the complete Blade, Bit and launch determine the result.View details
 RATCHET0-60Balance0-60 uses 0 main contact points and a 60 height class. Lower setups generally expose less underside, while the complete Blade, Bit and launch determine the result.View details
 RATCHET0-70Balance0-70 uses 0 main contact points and a 70 height class. Lower setups generally expose less underside, while the complete Blade, Bit and launch determine the result.View details
 RATCHET0-80Balance0-80 uses 0 main contact points and a 80 height class. Lower setups generally expose less underside, while the complete Blade, Bit and launch determine the result.View details
 RATCHET1-50Balance1-50 uses 1 main contact point and a 50 height class. Lower setups generally expose less underside, while the complete Blade, Bit and launch determine the result.View details
 RATCHET1-80Balance1-80 uses 1 main contact point and a 80 height class. Lower setups generally expose less underside, while the complete Blade, Bit and launch determine the result.View details
 RATCHET2-60Balance2-60 uses 2 main contact points and a 60 height class. Lower setups generally expose less underside, while the complete Blade, Bit and launch determine the result.View details
 RATCHET2-70Balance2-70 uses 2 main contact points and a 70 height class. Lower setups generally expose less underside, while the complete Blade, Bit and launch determine the result.View details
 RATCHET2-80Balance2-80 uses 2 main contact points and a 80 height class. Lower setups generally expose less underside, while the complete Blade, Bit and launch determine the result.View details
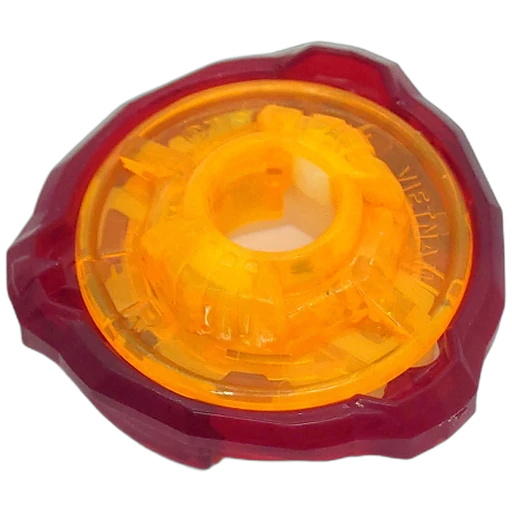 RATCHET3-70Balance3-70 uses 3 main contact points and a 70 height class. Lower setups generally expose less underside, while the complete Blade, Bit and launch determine the result.View details
 RATCHET3-80Balance3-80 uses 3 main contact points and a 80 height class. Lower setups generally expose less underside, while the complete Blade, Bit and launch determine the result.View details
 RATCHET3-85Balance3-85 uses 3 main contact points and a 85 height class. Lower setups generally expose less underside, while the complete Blade, Bit and launch determine the result.View details
 RATCHET4-50Balance4-50 uses 4 main contact points and a 50 height class. Lower setups generally expose less underside, while the complete Blade, Bit and launch determine the result.View details
 RATCHET4-55Balance4-55 uses 4 main contact points and a 55 height class. Lower setups generally expose less underside, while the complete Blade, Bit and launch determine the result.View details
 RATCHET4-60Balance4-60 uses 4 main contact points and a 60 height class. Lower setups generally expose less underside, while the complete Blade, Bit and launch determine the result.View details
 RATCHET4-70Balance4-70 uses 4 main contact points and a 70 height class. Lower setups generally expose less underside, while the complete Blade, Bit and launch determine the result.View details
 RATCHET4-80Balance4-80 uses 4 main contact points and a 80 height class. Lower setups generally expose less underside, while the complete Blade, Bit and launch determine the result.View details
 RATCHET5-50Balance5-50 uses 5 main contact points and a 50 height class. Lower setups generally expose less underside, while the complete Blade, Bit and launch determine the result.View details
 RATCHET5-70Balance5-70 uses 5 main contact points and a 70 height class. Lower setups generally expose less underside, while the complete Blade, Bit and launch determine the result.View details
 RATCHET5-80Balance5-80 uses 5 main contact points and a 80 height class. Lower setups generally expose less underside, while the complete Blade, Bit and launch determine the result.View details
 RATCHET6-60Balance6-60 uses 6 main contact points and a 60 height class. Lower setups generally expose less underside, while the complete Blade, Bit and launch determine the result.View details
 RATCHET6-70Balance6-70 uses 6 main contact points and a 70 height class. Lower setups generally expose less underside, while the complete Blade, Bit and launch determine the result.View details
 RATCHET6-80Balance6-80 uses 6 main contact points and a 80 height class. Lower setups generally expose less underside, while the complete Blade, Bit and launch determine the result.View details
 RATCHET7-55Balance7-55 uses 7 main contact points and a 55 height class. Lower setups generally expose less underside, while the complete Blade, Bit and launch determine the result.View details
 RATCHET7-60Balance7-60 uses 7 main contact points and a 60 height class. Lower setups generally expose less underside, while the complete Blade, Bit and launch determine the result.View details
 RATCHET7-70Balance7-70 uses 7 main contact points and a 70 height class. Lower setups generally expose less underside, while the complete Blade, Bit and launch determine the result.View details
 RATCHET7-80Balance7-80 uses 7 main contact points and a 80 height class. Lower setups generally expose less underside, while the complete Blade, Bit and launch determine the result.View details
 RATCHET8-70Balance8-70 uses 8 main contact points and a 70 height class. Lower setups generally expose less underside, while the complete Blade, Bit and launch determine the result.View details
 RATCHET8-80Balance8-80 uses 8 main contact points and a 80 height class. Lower setups generally expose less underside, while the complete Blade, Bit and launch determine the result.View details
 RATCHET9-65Balance9-65 uses 9 main contact points and a 65 height class. Lower setups generally expose less underside, while the complete Blade, Bit and launch determine the result.View details
 RATCHET9-70Balance9-70 uses 9 main contact points and a 70 height class. Lower setups generally expose less underside, while the complete Blade, Bit and launch determine the result.View details
 RATCHET9-80Balance9-80 uses 9 main contact points and a 80 height class. Lower setups generally expose less underside, while the complete Blade, Bit and launch determine the result.View details
 RATCHETM-85BalanceM-85 is a special-format Ratchet. It changes blade height, balance and underside exposure and should be tested in complete builds.View details